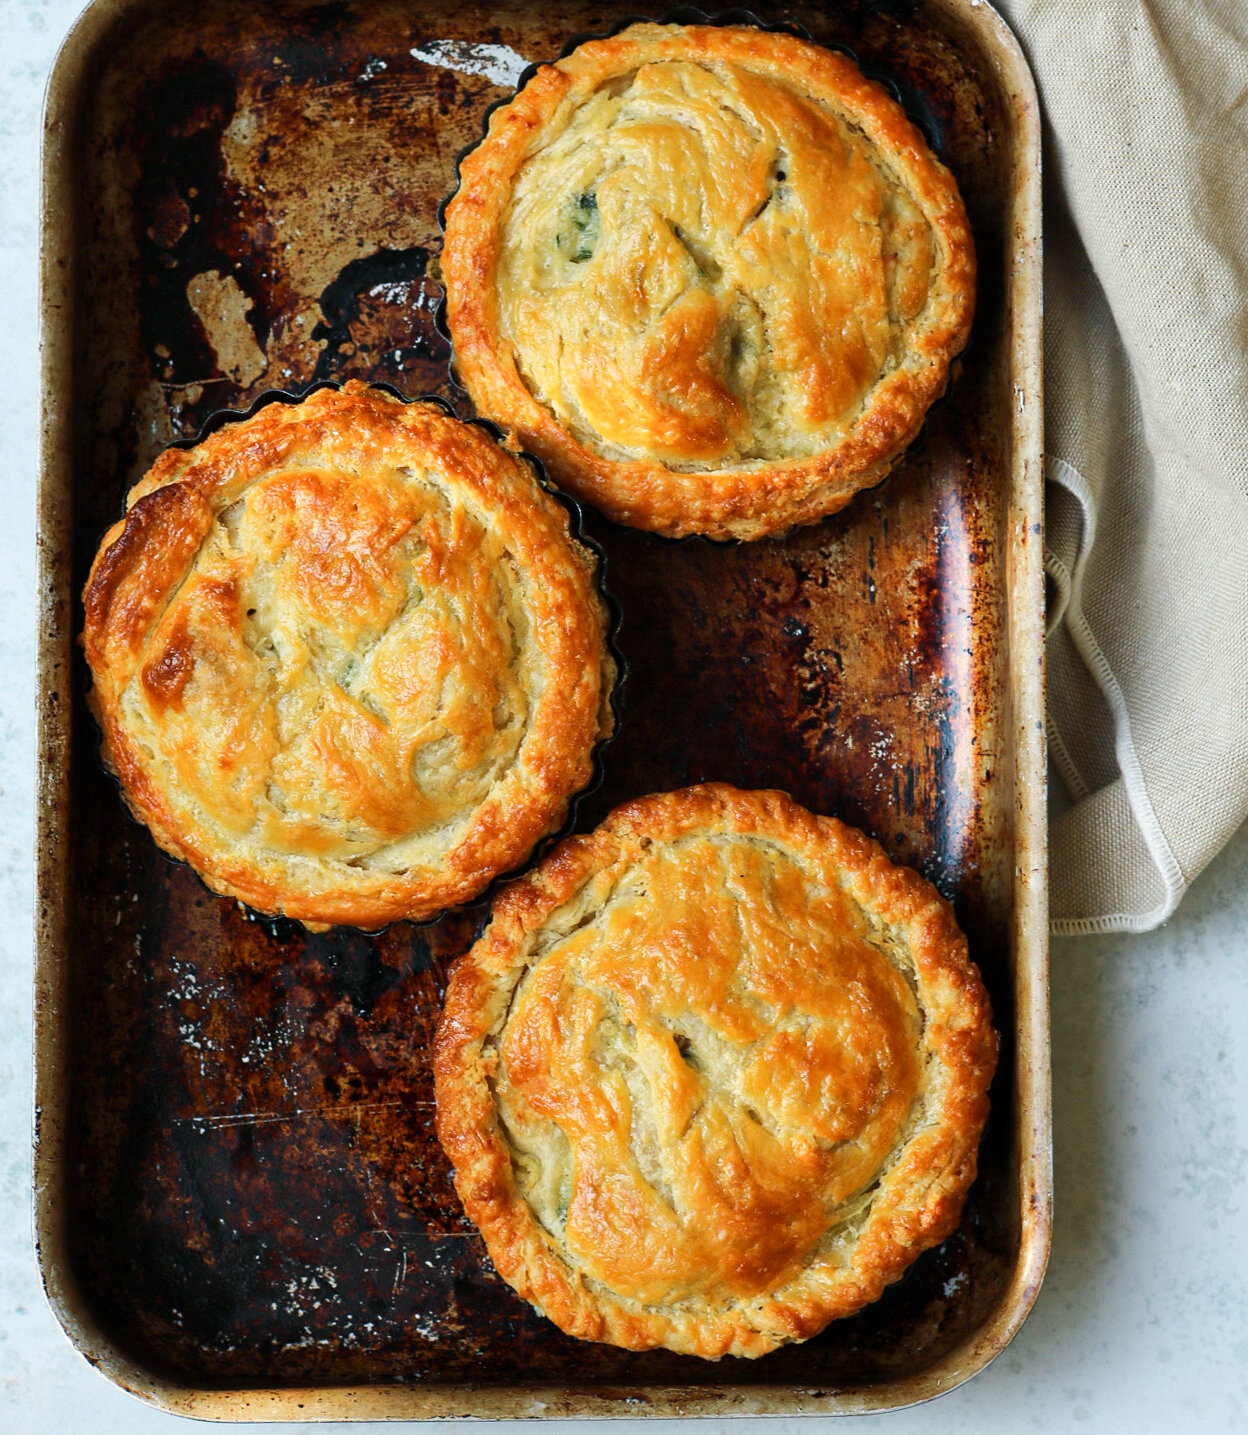
Chicken, Leek & Mushroom Pie

This creamy, flavourful pie filling encased by the buttery, flakey pastry needs to be on your list of recipes to cook this winter.
Taking inspiration from the Chicken Pie from Tartine in Armadale, Melbourne, I tried to create my own decadent pie, and of course making my own puff pastry.
The trick to get flakey, crispy, buttery pastry is to ensure the butter you are using is super chilled - almost frozen. I also use ice water, to ensure all my little butter nuggets are still spread throughout the dough. I am telling you, once you ace this recipe, you will never ever think of buying store bought puff pastry again. Not only is it delicious, it is so bloody cheap to make, and you can make it days in advance.

The pie filling can also be made in advance and kept in the fridge. I tend to do this, so I am not running around like a headless chook trying to get all my timings right. So yeah, I would recommend either making the chicken filling whilst the dough is setting in the fridge the first time, or the day before.
makes 1 large pie (and some) or 8 small pies.

For the pastry, you will need:
Puff Pastry Ingredients
260g plain flour
260g close to frozen salted butter cut into 2cm cubes
1/2 cup ice water, plus extra tbsp on hand if needed
1/4 teaspoon salt
Puff Pastry Method
You will need a food processor fitted with a metal blade to make this dough perfectly. Hands could work, but the warmth of your body will melt the butter too much for my liking and won’t have the same buttery, flakey finish.
Whisk the flour and salt together in a bowl. Add to the food processor, and sprinkle with 170g of the very cold butter. PULSE do not process. Only do this 10-12 times, until the butter has absorbed into the flour however pea sized chunks of butter still remain.
Now add the remaining butter, and only PULSE 3 times. NO MORE THAN THIS. We still want the chunks people. Now remove the lid and add the ice cold water (ensuring there's not lil cubes in there), and PULSE the mixture again, 4-5 times, until the mixture forms a dough which can be formed into a ball. It is super important to listen to the above and not over process the dough. If you do, you will end up with a flat, sad puff pastry. Hold the puff.
Generously flour your work surface, and bring the dough gently together into a ball, kneading as little as possible. The trick here is to not heat the dough with your hands - it will melt all your butter nuggets. Try and knead the dough a max of 10 times.
Now well-flour a rolling pin, and dust some more flour on top of the dough so it does not stick to the pin. Roll the dough into an approximate 30x40cm rectangle. The dough will try to make an oval, just use the edge of your rolling pin to shape the dough into a rectangle as you go. Remember to roll from the middle outwards. Do not roll from one side to the other - this will make your dough on a slant and uneven.
Fold the dough in half and then half again and one last time, and wrap in cling wrap and refrigerate for 2 hours - NO LESS. Ideally do it over night.
(you could start making your pie filling now while you wait - skip down to pie filling section.)
When you are ready to use the dough, cut the dough in half (if you are making smaller pies, divide by 8). Lightly flour your work surface and rolling pin. Roll into a uniform ball so none of the layers fall apart. Squish into a disc again, sprinkle with flour and roll out into an even circle. Again, rolling from the middle out. I tend to rotate my dough, so I can get a more uniform circle.
Hold your 10 inch pie dish over the dough, ensuring there is a 2.5-3cm extra border around the dish. Fold the circle in half, and then half again. Pick up the dough gently and place in the pie tin, unfolding the folds so the dough sits evenly in the pan. Gently ensure the dough is covering the sides of the dish, without any air sockets in between. You don’t want any air, as the dough will break when you add the pie filling.
Once placed, cover with foil and put in the fridge for 30 mins so the dough sets slightly.
Pie Filling Ingredients
2 large kosher chicken breasts
2 skinless boneless kosher chicken thighs
2 dried or fresh bay leaves
½ bunch thyme, tied together with cotton string, plus extra
1 bunch flat-leaf parsley, leaves and stalks separated
2 brown onions, diced
2 garlic cloves, crushed
1 chicken stock cube, crumbled
650ml full cream milk
70g salted butter
2 leeks, chopped
300g white cup mushrooms, cut into thirds
80g plain flour, plus extra for dusting
110ml crème fraîche
1 egg with 1 tsp of water added for egg wash.

Pie Filling Method
Use a large saucepan. Add the chicken breast, thighs, parsley stalks, thyme bunch, bay leaves, onions, garlic, crumbled stock cube and salt and pepper - there is no need to fry off the onion and garlic, we are dimply infusing the stock at this point. Pour the milk over the chicken, topping up with some water if the chicken is not fully covered with liquid. Bring to the boil, and then turn down the heat and slowly simmer for 15 minutes - rotating a few times to ensure an even cook. Lift the chicken from the liquid, and put aside in a bowl to cool (I like to rinse my chicekn under some water to remove any residue).
Meanwhile, using a fine sieve, drain 500ml of the chicken poaching liquid into a jug (I tend to repeat this step to ensure a really smooth consistency). You will use this to make you sauce for your pie. Set aside, and discard the remaining liquid/herbs left over.
Now, heat the butter in a large saucepan on low to medium heat, until melted. Add the leeks and mushrooms, stirring occasionally until soft, about 7-10 minutes. Season well with salt and white pepper. Add the flour, stirring gently until the vegetables are coated. Now slowly add the poaching liquid, stirring as you pour it in, creating a thickened sauce. Remove from heat.
Using two forks, pull apart the chicken into thumb sizes chunks. This way the meat stays intact and is nicer to chew later. Chop up the parsley leaves and pick the remaining thyme leaves. Add to sauce, along with the crème frâiche and chicken. Taste to see if it's seasoned to perfection, adding more white pepper and salt if necessary. Allow mixture to cool down to room temperature.
Once the filling has cooled, remove the other half of your pastry from the fridge. Allow to sit for 10 minutes so it isn't too hard. When it is too firm, it will crack at the edges when you roll it out! Meanwhile, spoon it into your prepared pie dish.
Roll out the pastry the same way as previously, however it does not have to have the border. Try your best to make it the same size as the pie dish surface. Gentle lay on top of the pie, trimming the excess. Now fold the edges of the bottom pie dough upwards, crimping the edges with your fingers or a fork. You can use the excess dough to make a pretty pattern like I did (the plated edge covers the messiness of the crimped edges, and hey who doesn’t want more puff pastry on their pie). Make sure you gently make a few small slits or holes in your pie lid, to allow for some of the steam to be released whilst cooking. If you don't do this, your pie will most likely explode in the oven.. Not fun to clean and soz, no pie for you.
Put the pie in the freezer until the crust goes hard - about 30-45 minutes (see notes). This way the structure of the pie will hold better. Brush the top of the frozen pie with egg wash.
Heat your oven to 200°C. Put the pie dish on a lined baking tray (just in case some of the juices seep out). Cook in the over for 30-40 minutes, or until the pastry has risen and is golden (smaller pies 30 minutes in total). If the crust looks like it is getting too brown, remove from the oven and cover gently and carefully, the pie will be bloody hot, with a foil ring.
Put the pie back in the oven and continue cooking until the lid has a nice golden finish. Some of the filling will have bubbled up through the steam holes - this is normal and means your pie is ready. Allow to cool for 5 minutes, then serve.
I like to eat this with tomato sauce and white pepper, trust me, give it a go.
Notes
I find the first day I cut into the pie, it has a much runnier consistency than on the second and third. To avoid this, you could add a teaspoon of cornflour to the pie filling when you add the plain flour. I actually prefer to make the components the day before, and then construct the pie the following day. That way, the mixture has time to infuse and become thicker - this way you don’t need to freeze the pie at all!
If you want to make this pie in advance, you could easily freeze it and then remove from the freezer when ready to cook. I advise freezing it until it's hard (30-45 minutes), and then removing from the freezer and wrapping in foil. Add back to the freezer. If you leave it in there uncovered, it will get little icicles on it and will get too much moisture in the dough. Keep in mind the cooking time will be slightly longer. To test if the pie is ready, insert a metal skewer and pull out. If the skewer is hot to touch, the pie is ready.